Visual Studio Code is an optimized, feature rich code editor for building web and cloud application’s. It is developed by the Microsoft team. It includes feature like embedded Git, supports debugging feature, syntax highlighting, intelligent code completion, snippets, and code refactoring.
The Visual Studio code is freely available for most of modern operating systems like Windows, Linux (RPM and Debian installation is also available), and macOS.
This tutorial will help you to install Visual Studio Code editor on Ubuntu 20.04 using Apt repository as well as snap tool.
Prerequisites
Before continuing for Visual Studio Code installation on Ubuntu 20.04:
- Login to Ubuntu as sudo privileged user
- For the newly installed systems, required to complete initial server setup
-
Method 1 – Install using Snap Tool
The snap package contains all the requirements for any application. So just execute the below command on your system terminal:
sudo snap install code --classic It will download the eclipse IDE snap package and install on your machine. Once the installation completed successfully, you will see the following output.
Image may be NSFW.
Clik here to view.
The snap package has been installed on your system.
Next method will instruct you to install visual studio code using the apt package manager. But if you already have installed using snap tool, skip next method.
-
Method 2 – Install Code with Apt
First, Import the GPG key to your system to verify packages before installation. To import gpg key, type:
curl https://packages.microsoft.com/keys/microsoft.asc | gpg --dearmor > microsoft.gpg
sudo mv microsoft.gpg /etc/apt/trusted.gpg.d/microsoft.gpg
Microsoft team provides an repository for the Debian packages installation. To enable the Visual Studio code Apt repository, type:
echo "deb [arch=amd64] http://packages.microsoft.com/repos/vscode stable main" | sudo \
   tee /etc/apt/sources.list.d/vs-code.list
Once you successfully added the repository to your system, Execute the following commands to install Visual Studio Code on Ubuntu system.
sudo apt update
sudo apt install code
Step 1 – Install Visual Studio Code
Choose one of the below methods to install Visual Studio Code on your Ubuntu system. The Ubuntu 20.04 LTS preferred to use snap tool instead of Apt for packages installation. So, we are providing installation method with snap tool first.

Step 3 – Launch Visual Studio Code
Now, The Visual Studio Code has been installed on your Ubuntu 20.04 system. To launch the application type “code” in search application and click on it.
Image may be NSFW.
Clik here to view.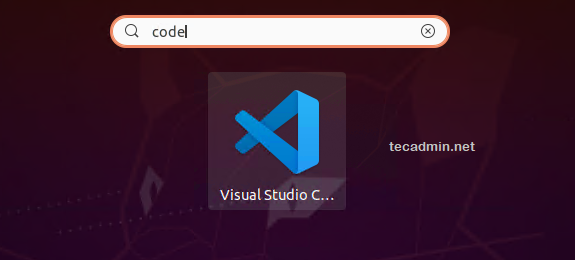
The Visual Studio Code editor is ready to use.
Image may be NSFW.
Clik here to view.
There are a large number of extensions available for Visual Studio Code like C#, Python, JavaScript, Google Chrome etc. Install the required extensions to enhance your working experience with the Visual Studio Code.
Conclusion
This tutorial helps you to install Visual Studio Code on your Ubuntu 20.04 LTS system.
The post How to Install Visual Studio Code on Ubuntu 20.04 appeared first on TecAdmin.